When it came to making this nursery mobile, I just hadn't been able to wrap my mind around how to create a three-dimensional stuffed figure, my non-math brain just wouldn't do it!
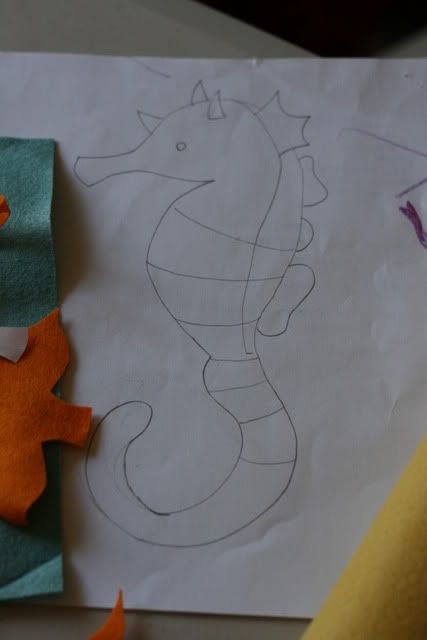
I pulled out my sketches for this project again and decided the best way to start would be to just bite the bullet and try my hand at putting one of the figures together. I took my original sketch of the sea horse (which was a whopping 12" tall!) and scaled it back to just under 6" tall.

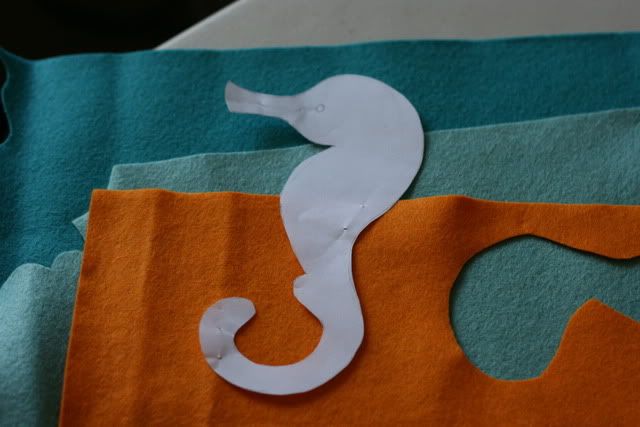
I cut the sketch outline into a pattern, doubled over the orange felt and then cut out the shape. I free-hand drew the blue details with a disappearing ink pen directly onto the felt. I sandwiched the blue bits in between the two orange shapes and then pinned around the entire piece.
I started off handstitching the edges with three strands of embroidery floss however I wasn't pleased with the results (I just knew the stuffing was going to work its way out from between the stitches). I ended up pulling the hand stitches out and machine straight-stitched instead. The nice thing about felt is that it doesn't fray so you can stitch the wrong sides together and the stitching can show on the outside and the felt will still have a nice clean edge.

After stitching (and leaving a small opening), I stuffed it with fiberfill. Even with my bodkin tool, I couldn't get the stuffing to reach the tip of the skinny nose but I wasn't too concerned about it, I think it looks fine unstuffed. Generally with stuffed animals you have to OVERSTUFF because with squeezing and cuddling, the fluff inside gets smushed and flat but that won't be a problem with the mobile figures. Since the mobile will be hanging up and not getting touched, I could just stuff it to what I wanted it to look like and sew it up closed.
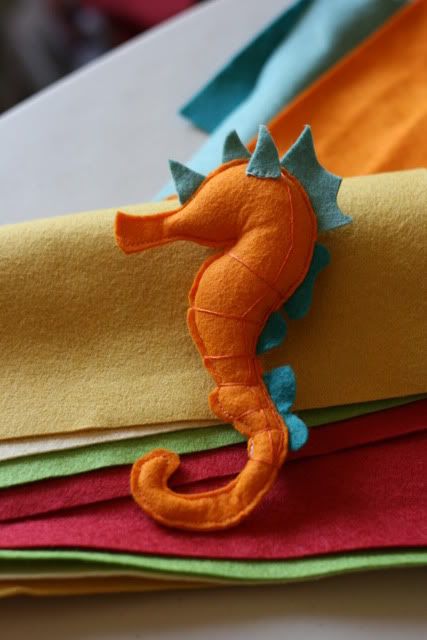
After stuffing and sewing shut, I was ready to add some detailing, so I threaded three strands of floss and stitched the creases of the sea horse, looping the thread around and pulling slightly tight to create a cushioned-look. I handsewed on one "horn" to the front of one side to make him look more dimensional.

I have some black beads at my mom's house and know they'd be perfect for eyes for my sweet sea horses, I just have to remember to grab them next time I'm there. And voila! I'll have one figure done!!
Now that I have this adorable sea horse nearly complete, I'm rethinking the entire mobile and considering making it ALL with sea horses! My original plan was to have a crab, a whale, a sea star, a sea horse, an angel fish, a jelly fish, and a sea turtle. I'm not confident that I could do some of these figures justice at all, but I know now that I can make a cute seahorse and perhaps some sea stars? To be honest, I know I could make a jellyfish and an angel fish too, so it's really the crab, whale & sea turtle idea that I'm thinking about dropping from the set.
And I'm okay with that!
When I've pushed myself to stick to the original plan it seems that I just end up frustrated or disappointed, so I'm going to allow myself to veer off course and see where this new idea takes me! I'll be working on the project this week and will update when I have something completed to share.

1 comment:
Very Cute Julie! I love him!
Post a Comment